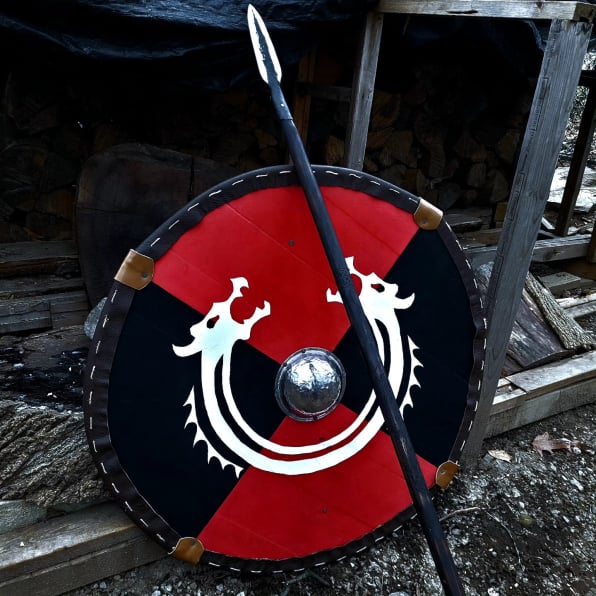
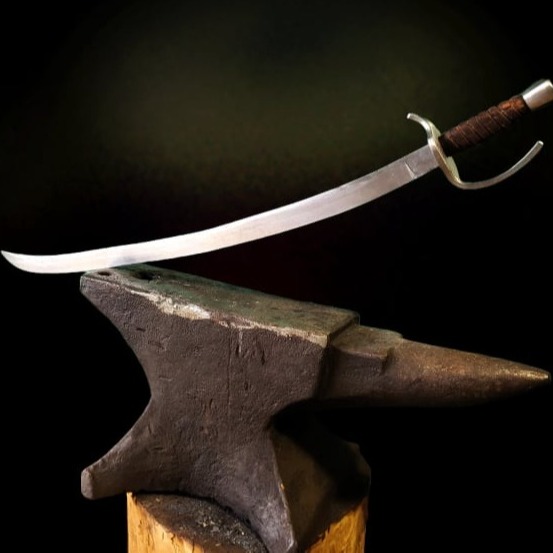
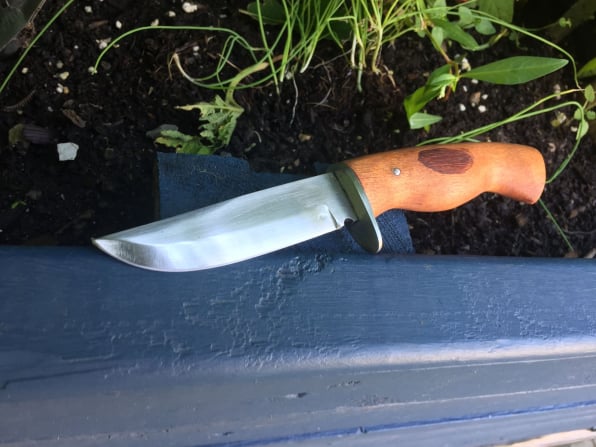
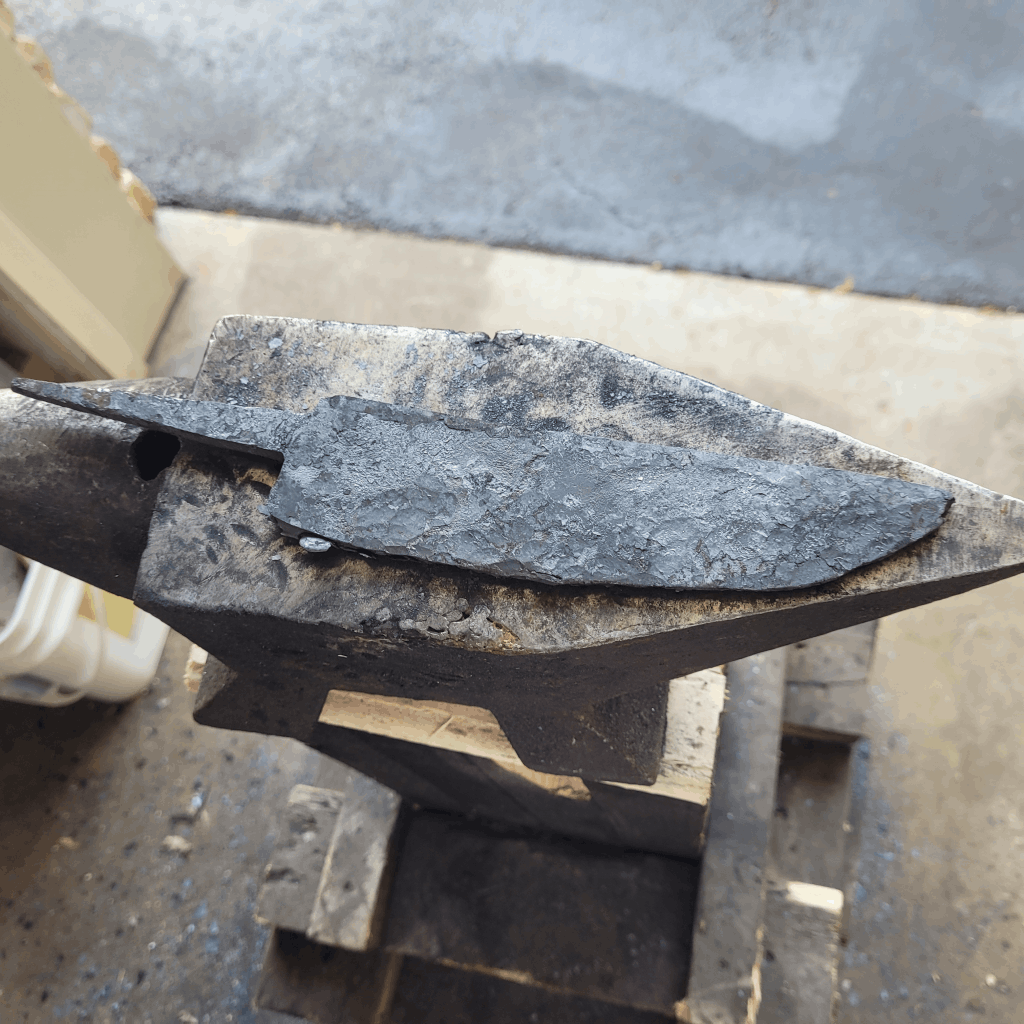
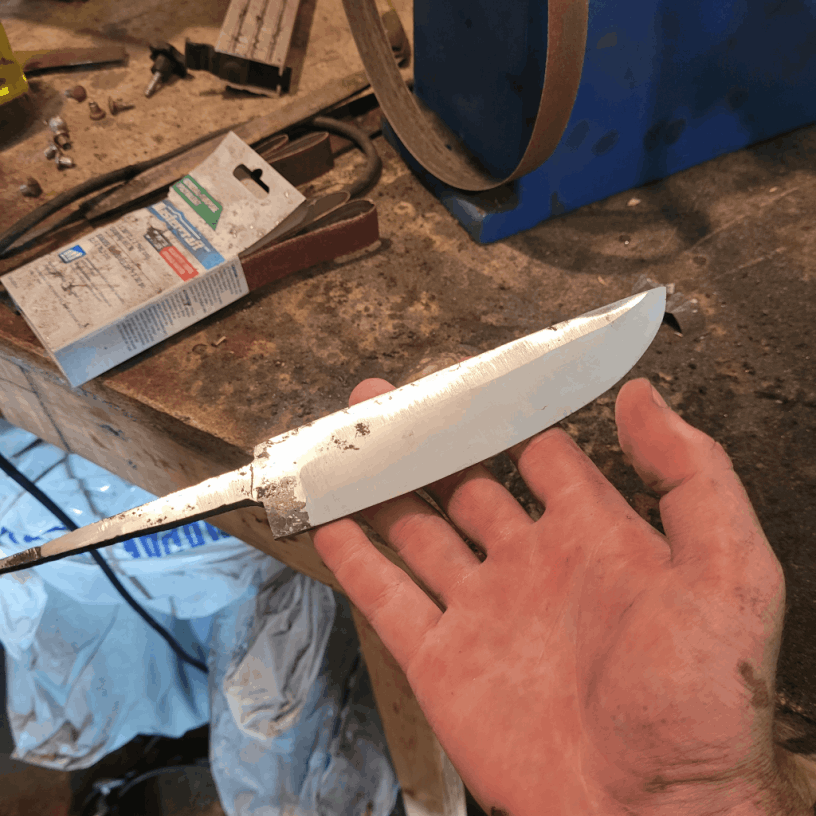
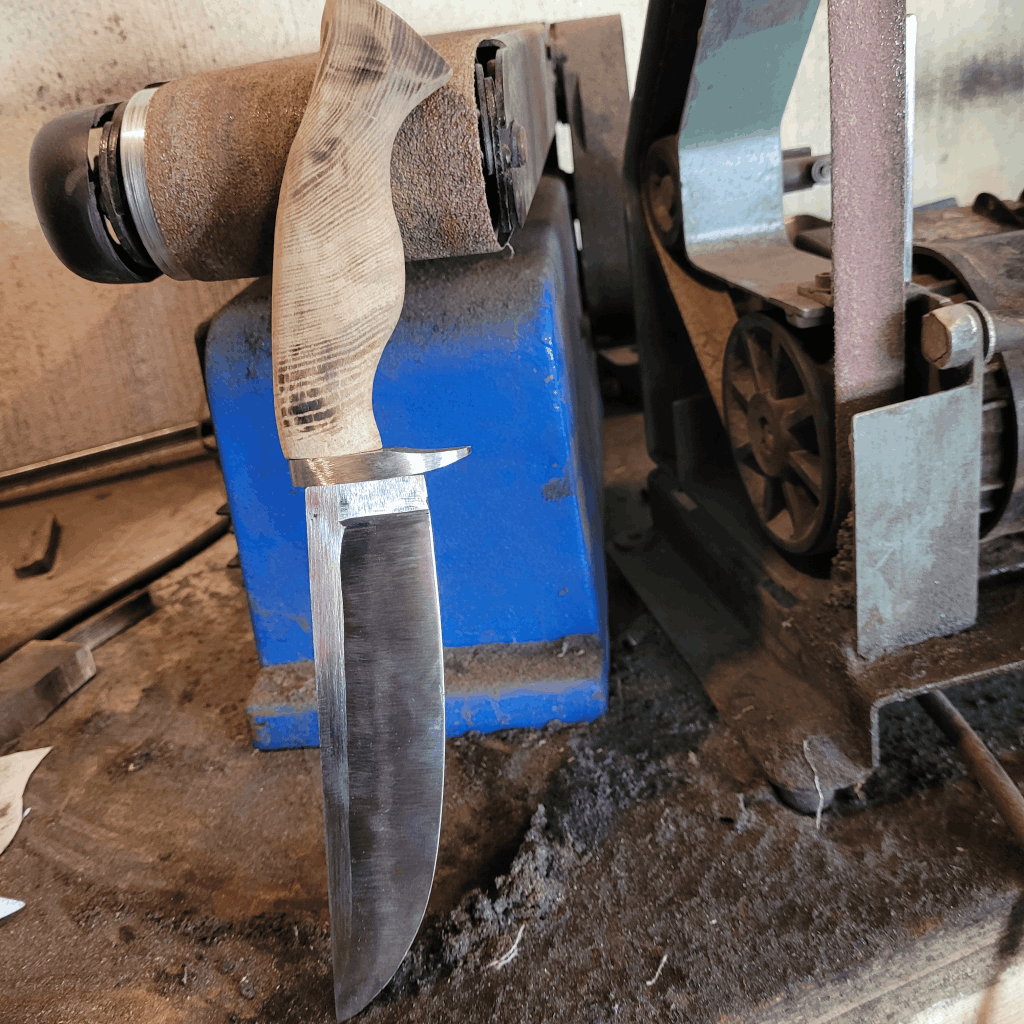
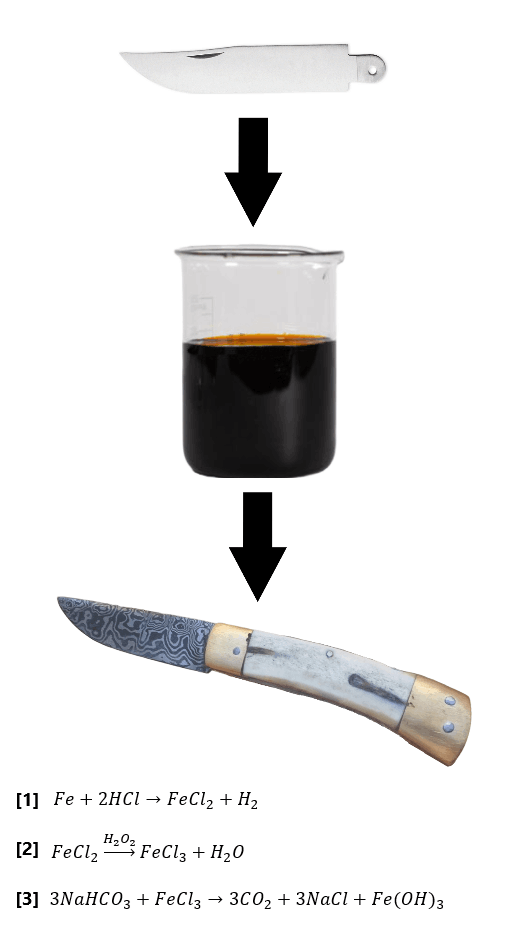
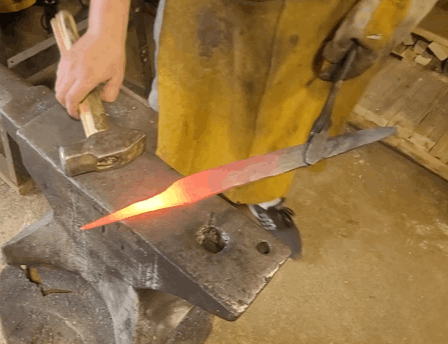
I am a self-taught blacksmith with a love of blade making!
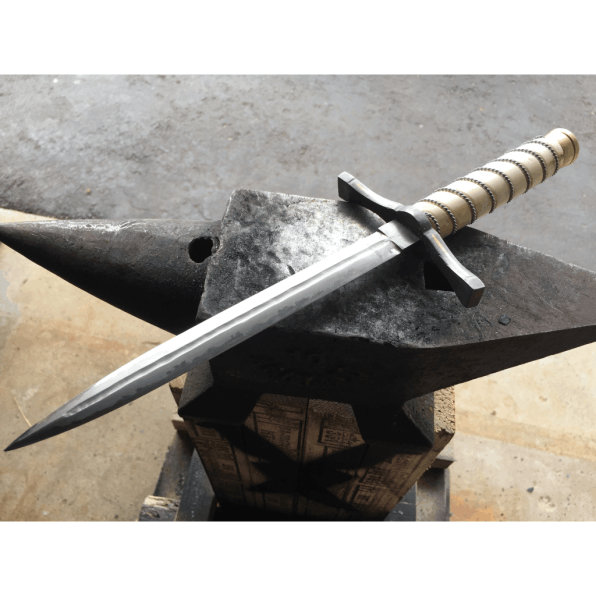
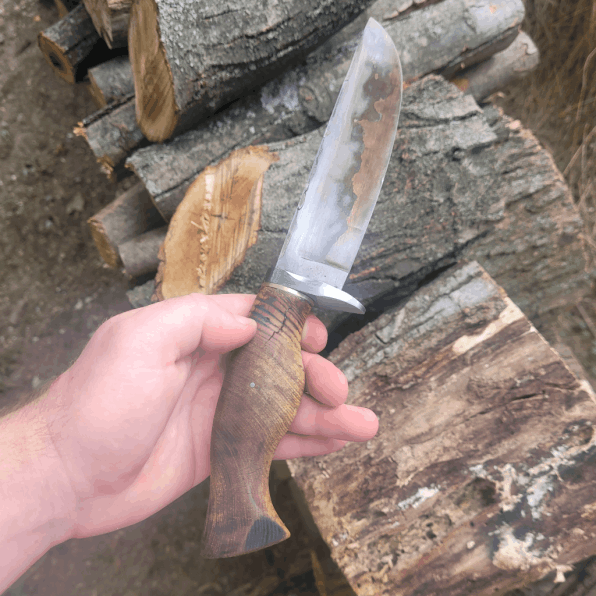
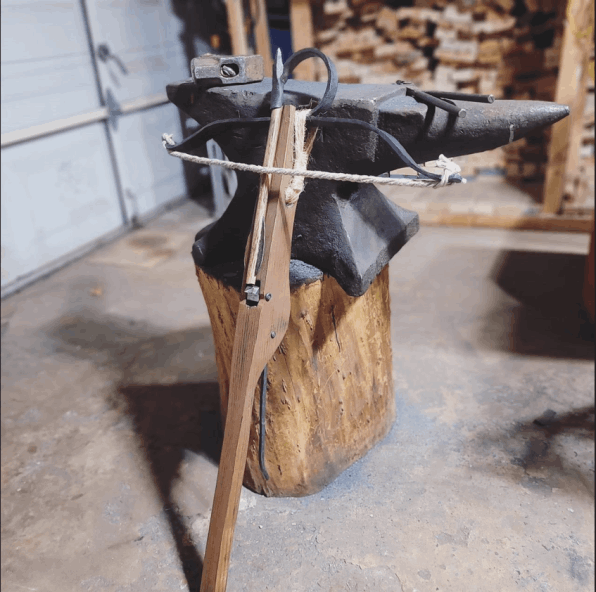
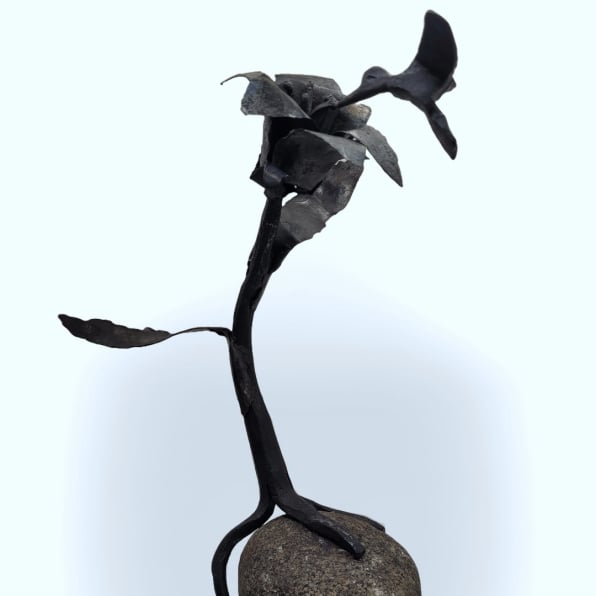
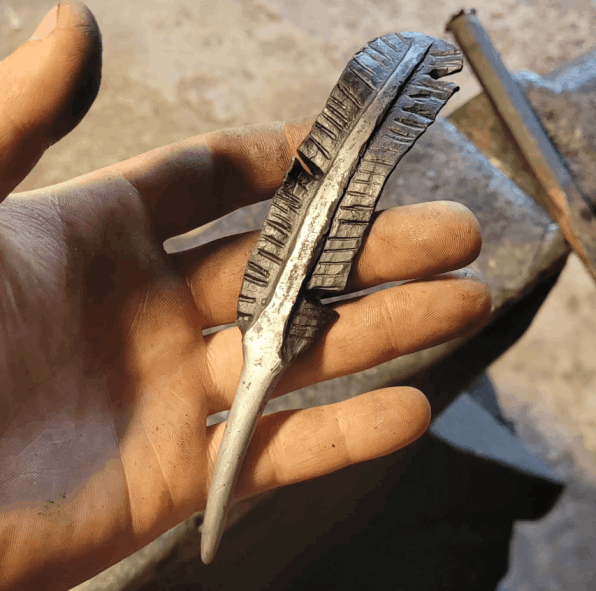
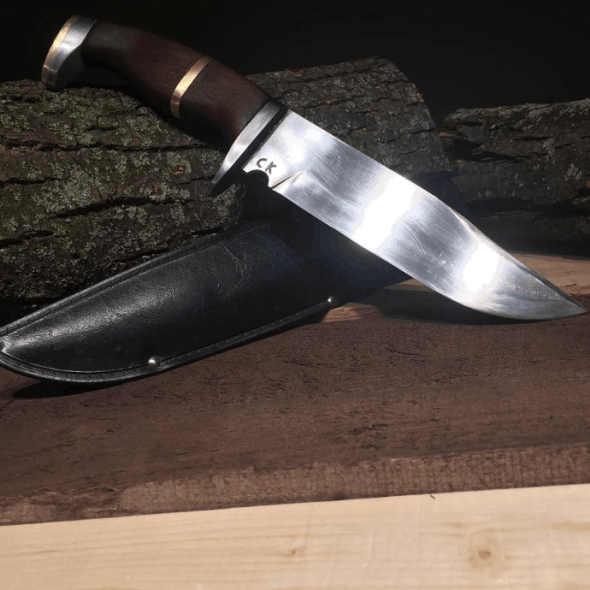
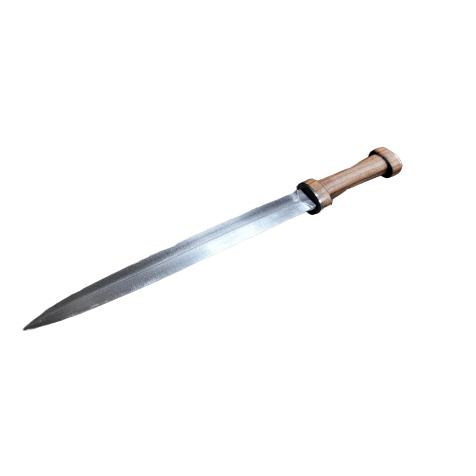
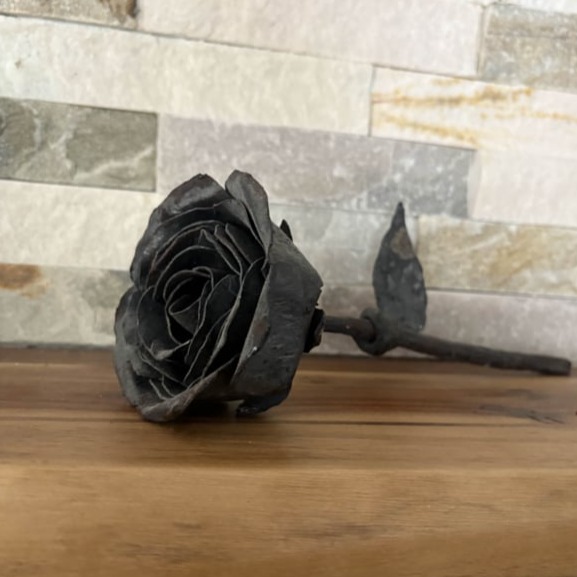
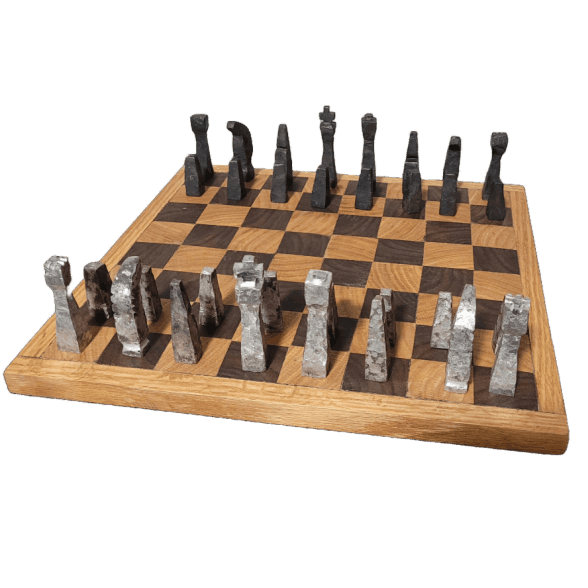
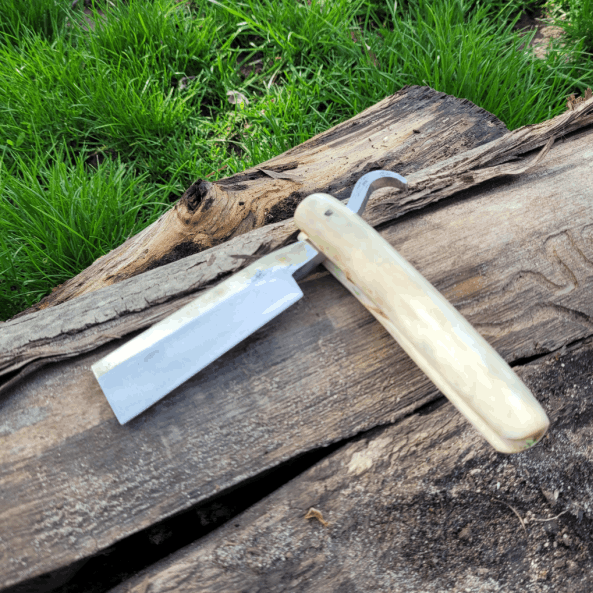
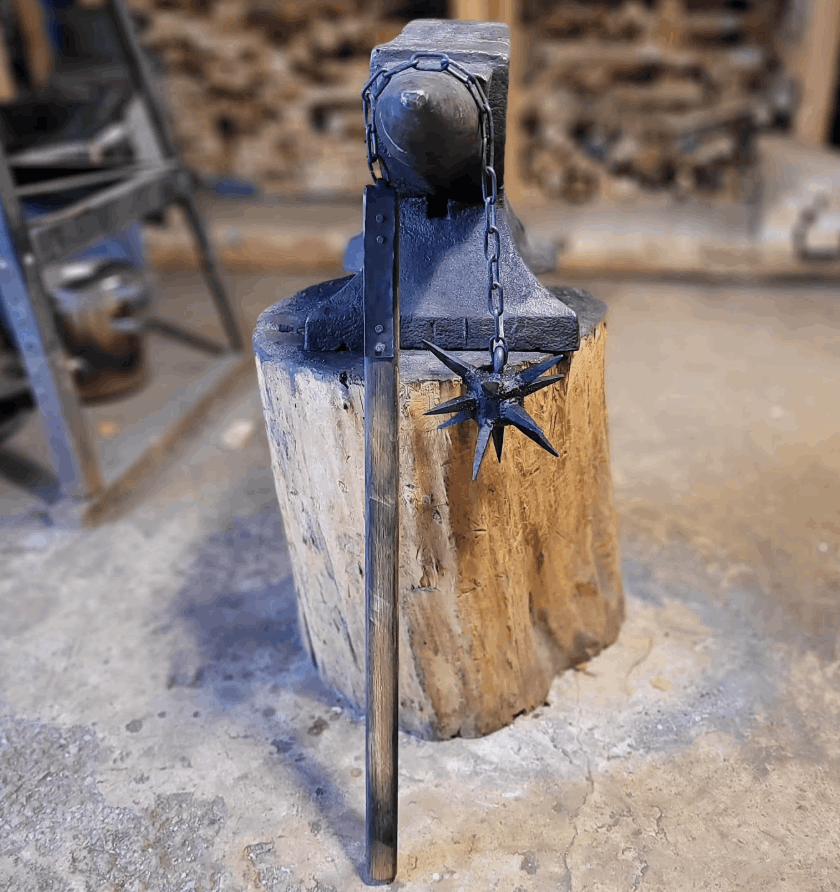
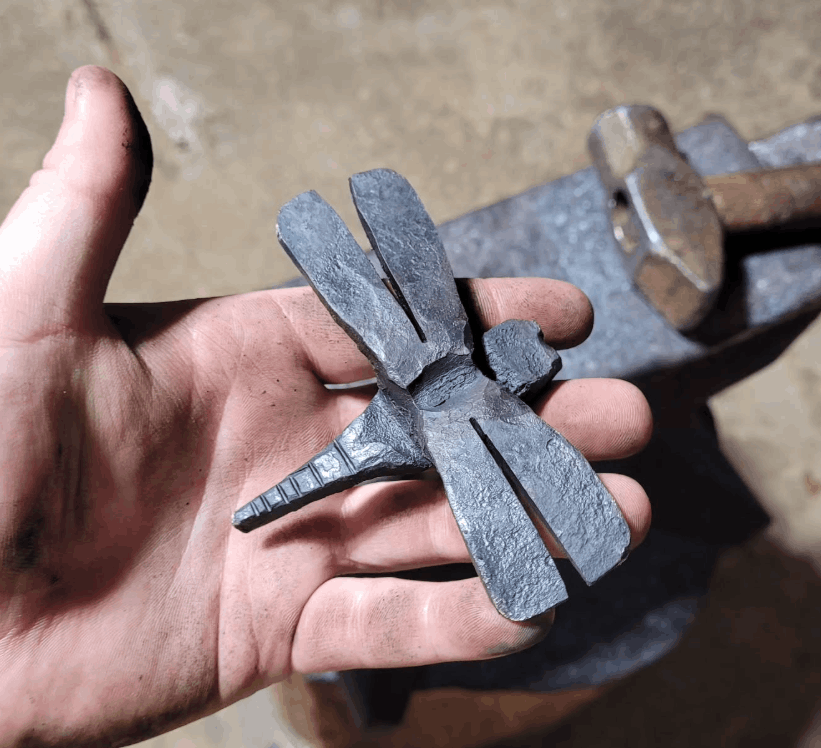
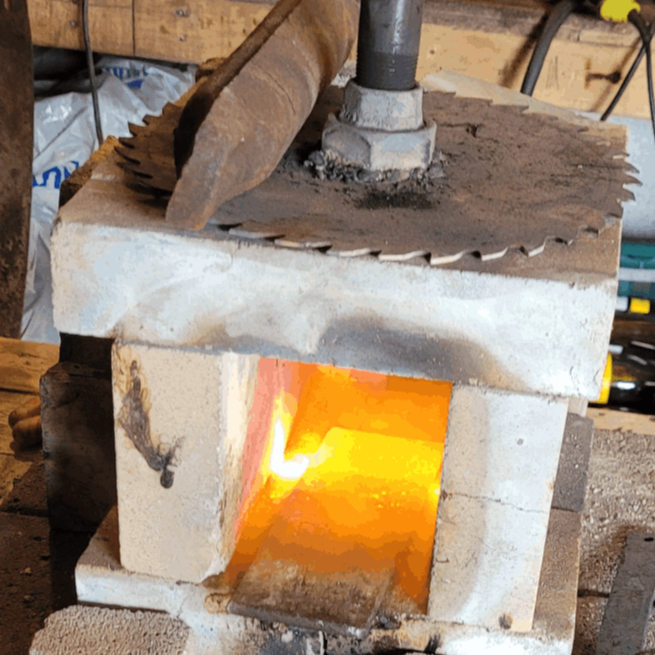
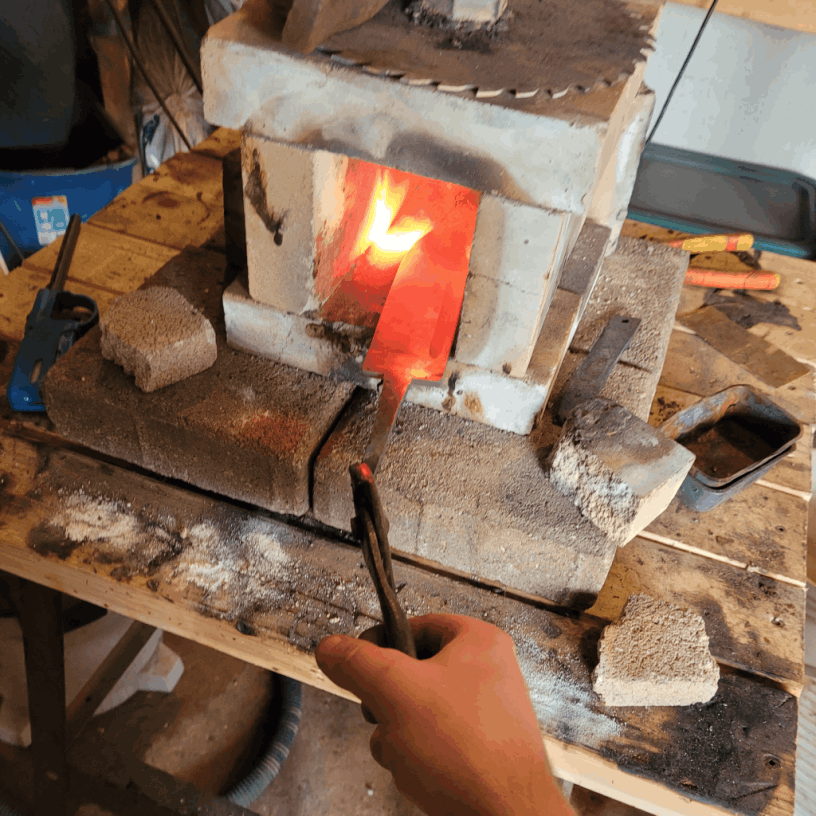
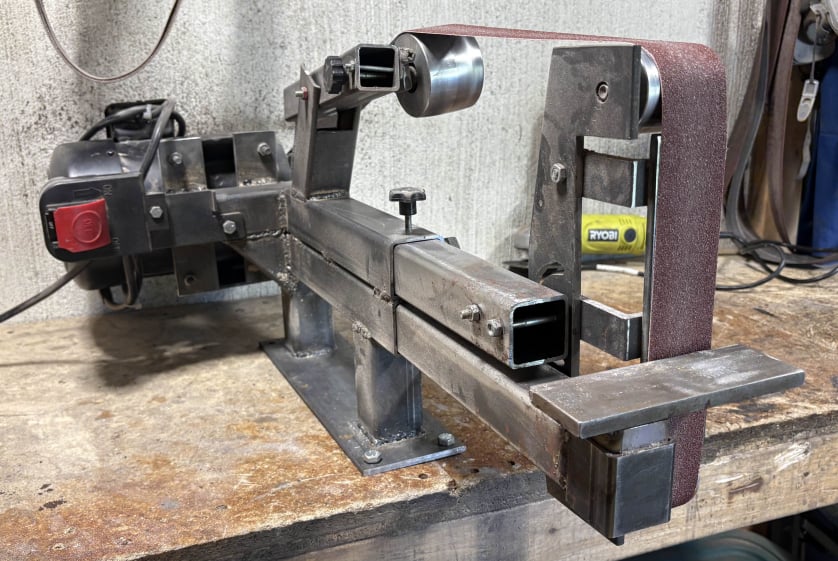
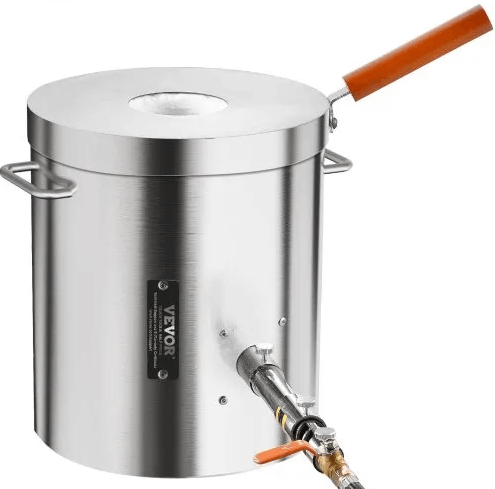
I designed and fabricated my own forge and power hammer, and I enjoy making blades, jewelry, and sculptures!
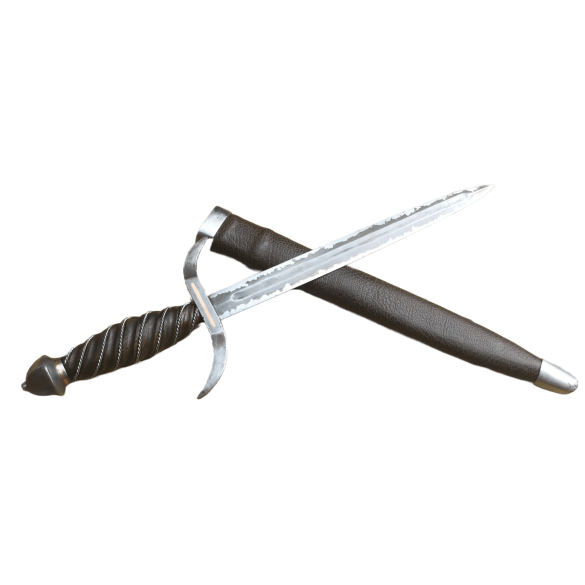
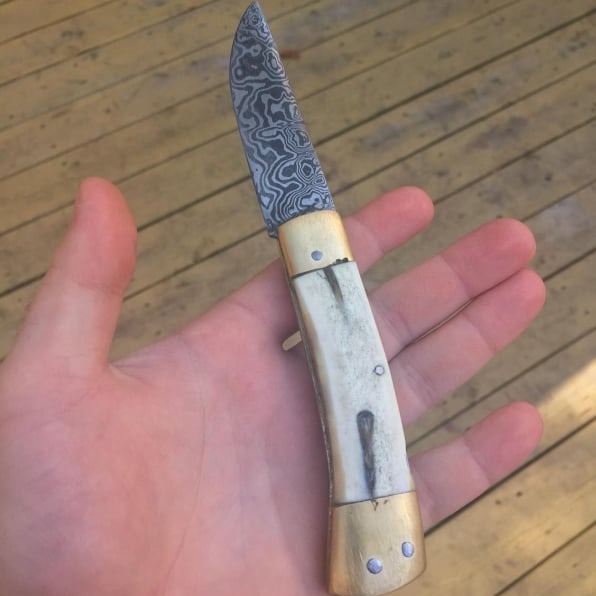
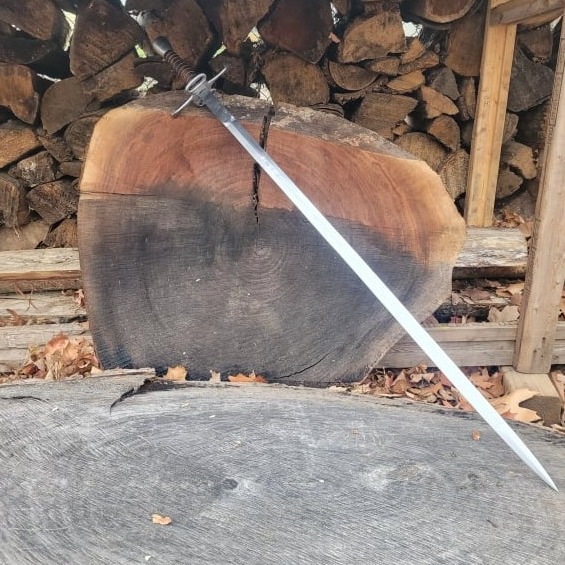
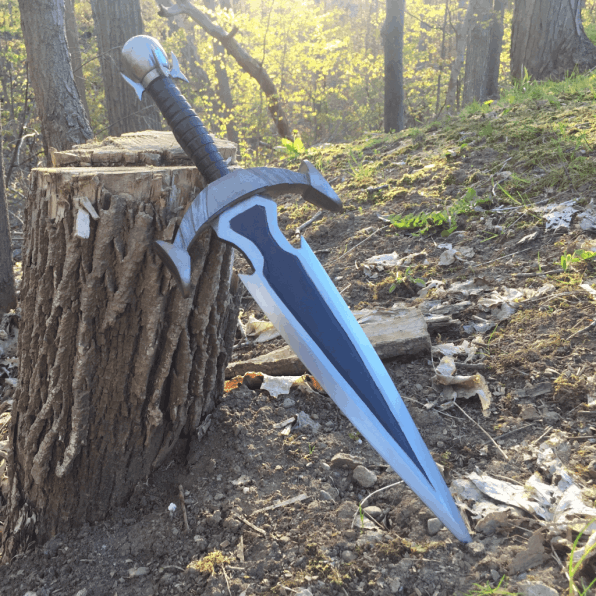
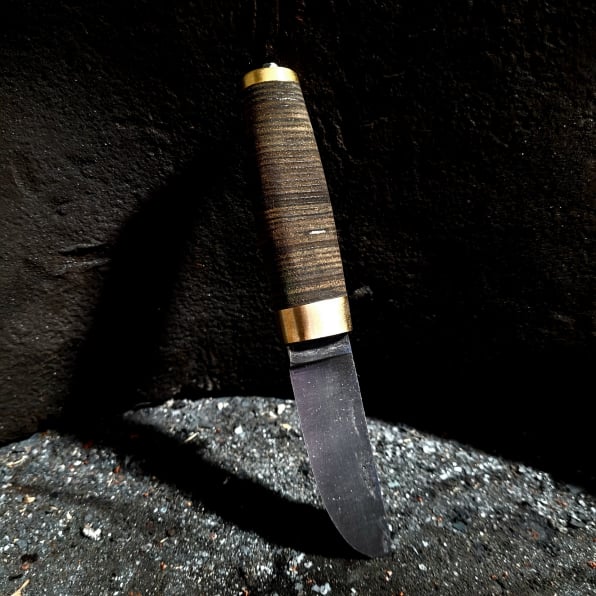
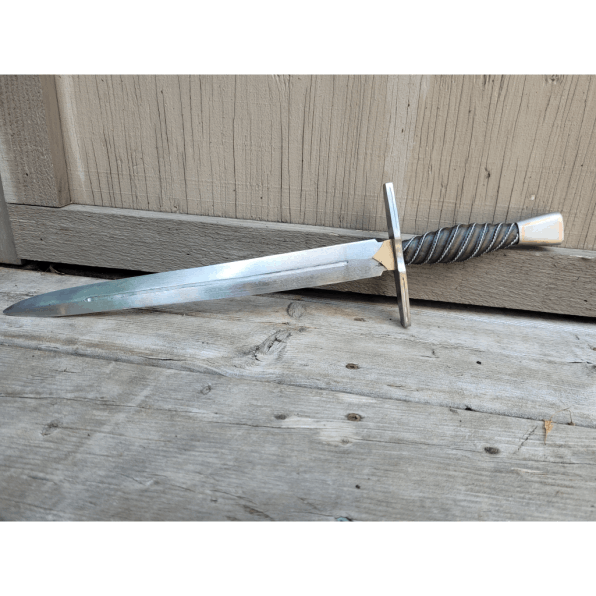
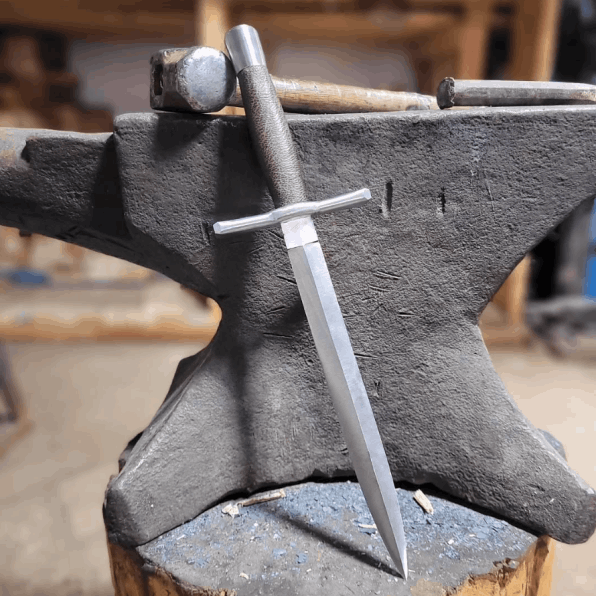
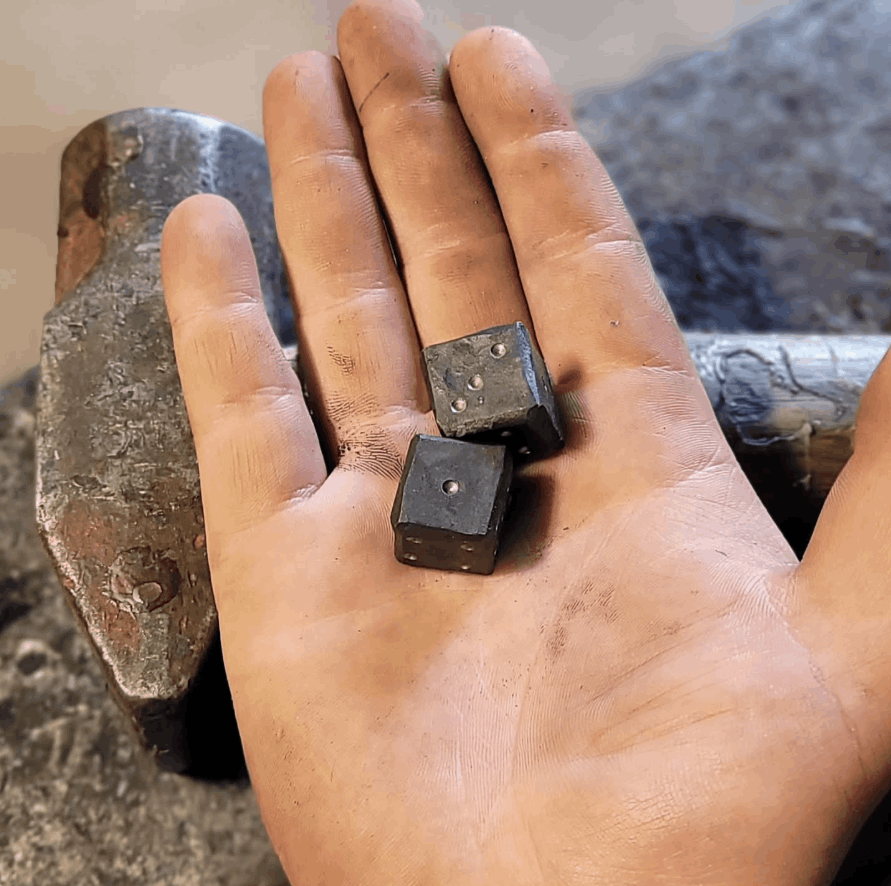
Below is a collection of my work and an overview of the science behind blacksmithing.
A forge is used to heat steel to a forging temperature (~2200 °F). A gas forge uses high pressure propane to heat the steel and refractory brick to insulate it.
Using a hammer and anvil, the steel is forged to a rough knife shape. Different types of steel can be forge welding together to obtain a unique pattern (Damascus steel).
A grinder and belt sander is used to refine the forged profile and grind a bevel. Most work is done in this stage as it is much more difficult to work when hardened.
The profiled blade is heated up and quenched in oil to harden it. Tempering is also required to make the blade more ductile.
A handle is cut and profiled using a belt sander and mechanically fixed to the handle using a pin and epoxy.
Hand sand and etch the blade to reveal the forge welded pattern. Oil is applied to the handle and blade to seal them and prevent oxidation.
My primary work anvil is a 100kg (220 lb.) Mousehole Forge Anvil - a historic British anvil dating between 1830 - 1933! Learn more about Mousehole Forge.
My forge is homemade forced air 3-torch burner that runs on propane with furnace brick as an insulator. Can reach temperatures up to ~2400 °F.
My custom build 2x72" Belt Sander. Powered by a 1.5 HP motor, this sander is my primary tool used to shape and refine any projects I work on! Learn more about the design.
I use a Mastercraft Variable Speed drill press for precision drilling.
I use my Mastercraft MIG welder frequently in lots of my projects. Only has 2 voltage and uses Flux Core wire, but works for my needs
I use a VEVOR furnace for melting and casting metals including aluminum, brass, bronze, copper, and lead. I like to cast into Petrobond casting sand.
I have both a wood and metal lathe. For more intricate parts I use my VEVOR metal lathe.
Whenever an angle grinder doesn't quite cut it, I have a Reboot plasma cutter that I can attach to my air compressor to reliably cut through 1/2" steel easily.
I typically use a 3 lb. hammer for most forging applications and an ~200 lb. Moushole forge anvil. I had to regrind and profile the anvil but it still has great rebound! Rebound helps to elastically return energy to the hammer on the upswing to make forging more efficient!
Hardening the steel surface (the face) of the anvil makes it more resilient to deformation. That way when the hammer makes contact with the hot steel (which deforms), the remaining kinetic energy is returned to the hammer instead of deforming the anvil.
Take a look to see the effect of rebound in action!
When a carbon steel is heated and rapidly cooled (typically in a quenching solution), it becomes hard due to the formation of different microstructures within the steel (i.e. martensite). This can be observed in the TTT diagram to the left where martensite can be formed by rapid cooling.
It is important to note that cooling too rapidly can introduce large stresses on the steel which can cause cracks to form or even complete rupture. As such a quenching medium like oil (for oil hardening steels) is used to ensure an optimal cooling path.
After hardening, martensite is hard but also very brittle and can break easily. The martensite is tempered by heating it up to ~200°C (depending upon the tempering process) and allowed to remain at that temperature to reduce internal stress and produce a finer grain structure with more impact resistence as shown in the grain structures below.
Rapid cooling forms martensite which has a large crystalline grain structure. The steel becomes hard and brittle which can withstand wear but cannot handle impact loads.
Tempering martensite by heating it up and holding at a set temperature relieves internal stresses of the material and improves ductility/impact resistance while still remaining relatively hard.
Heavily tempering martensite vastly improves impact resistance but also decreases hardness.
Consumer grade muriatic acid (HCL, 31.45%) and fine steel wool were first sourced.
2. Mixture Preparation
The steel wool was placed in a 1000mL beaker and separated to increase the surface area of the steel. 250 mL of muriatic acid was poured into a separate beaker.
3. Ferrous Chloride Synthesis
Combining the muriatic acid and the steel wool produced Iron(II) Chloride according to reaction [1].
The mixture was placed in a heat bath at approximately 50 °C to increase the speed of the reaction
4. Oxidation of Ferrous Chloride to Form Ferric Chloride
Ferric chloride does not etch steel and needed to be oxidized to form Iron(III) Chloride. Hydrogen peroxide was used according to reaction [2].
5. Dilution of Ferric Chloride
The ferric chloride solution was diluted using 500mL of distilled water to increase the volume of the etchant all allow the ions to disassociate.
6. Blade Etching
A blade was degreased using acetone and suspended in the FeCl3 solution for approximately 30 minutes. The blade surface was observed to be etched and was removed from the solution and placed in an aqueous mixture of sodium bicarbonate to neutralize the remaining ferric chloride according to reaction [3].